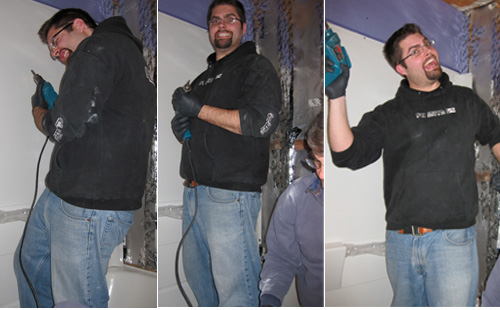
If you have been following along, this is at least the third day (I lost track a little since there was a cloud of dust that settled over the house from all of the work). These are the two things I was informed of when I woke up.
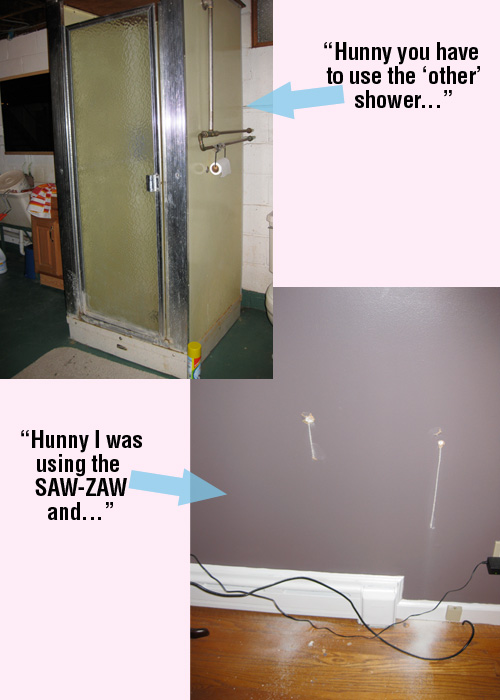
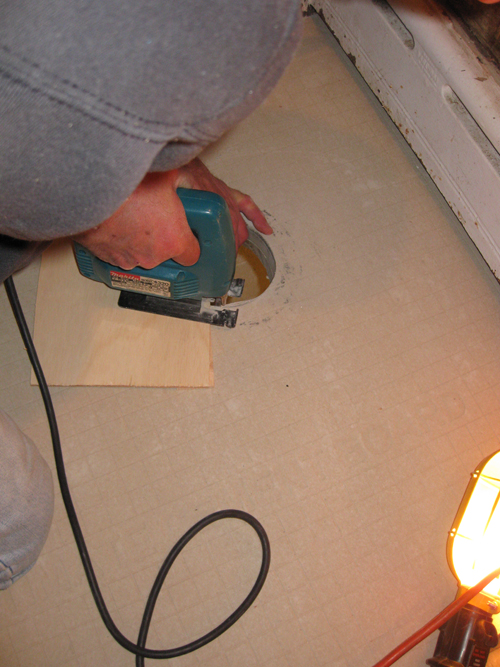
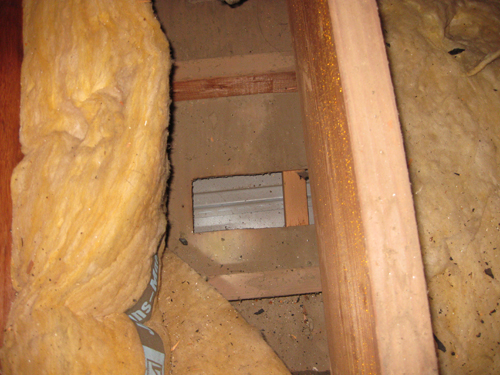
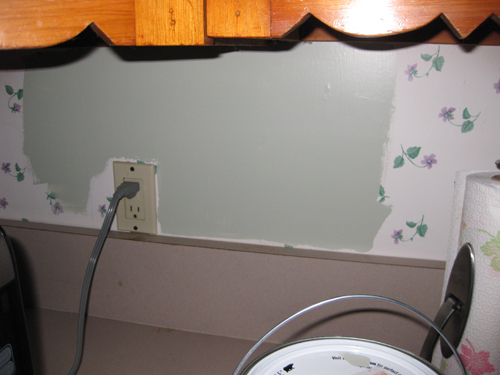
Apparently the SAW-ZAW had a mind of it’s own and while it was cutting the plywood off the wall in the bathroom it went through to the guest room! Yes, those are my “Roaming Pony” walls.
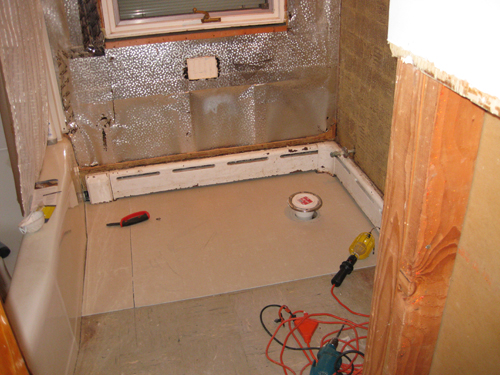
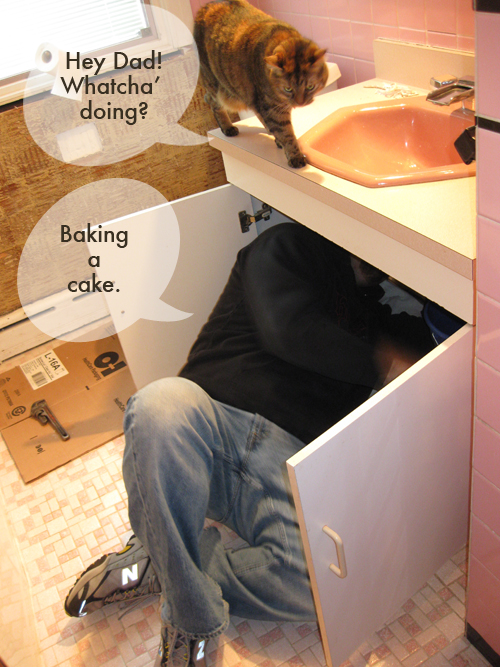
Hubby continued to work tirelessly on demolishing the bathroom. I think he got a little stir crazy in there.
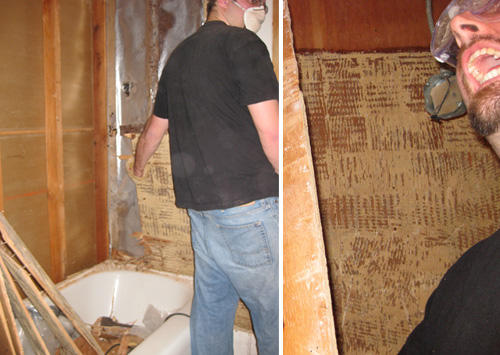
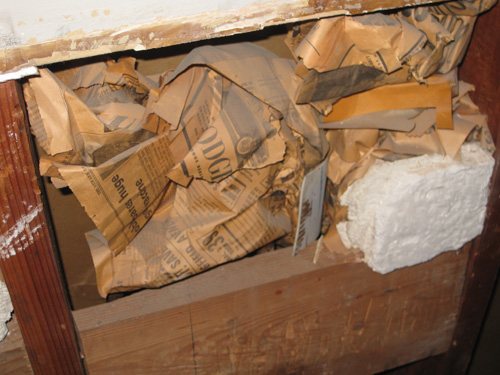
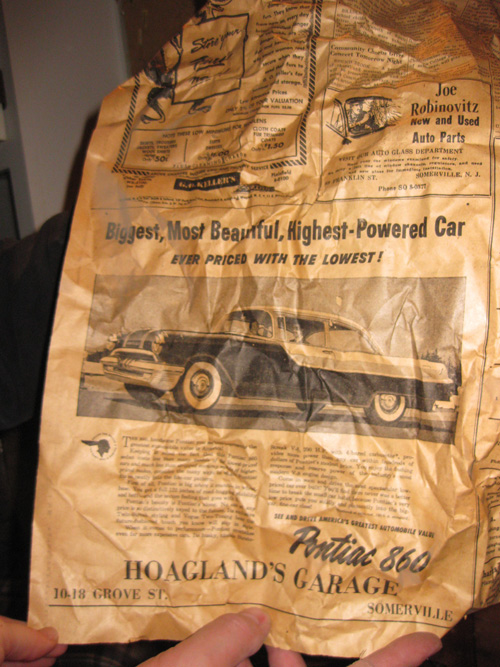
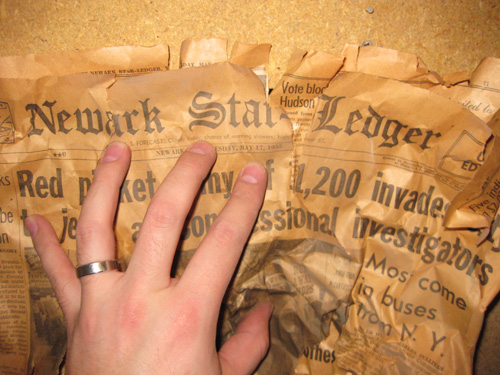
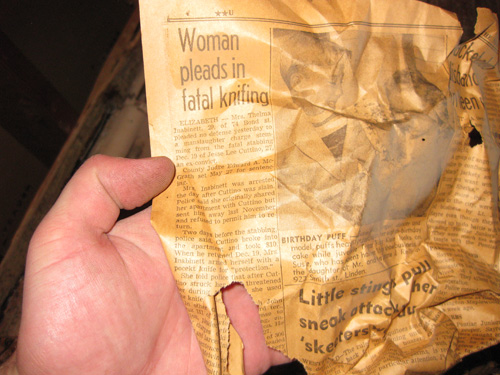
Then I heard “hunny – check this out!” So I grabbed the camera and ran to see what it was. Behind the center wall of the shower we had discovered the soap dish was originally held up with newspaper and cardboard and trash. They probably used that material to hold the soap dish in place until the plaster had set up.

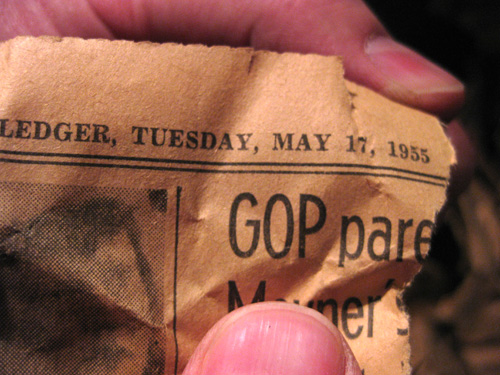
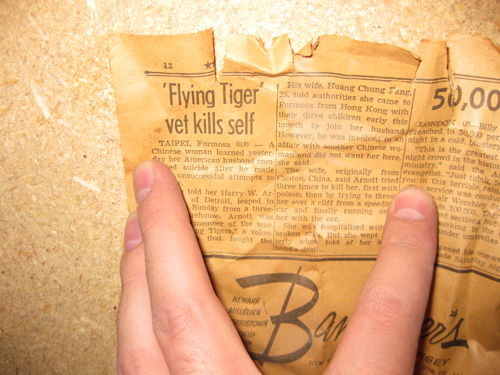
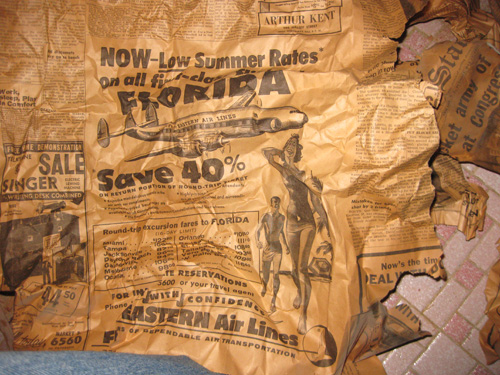
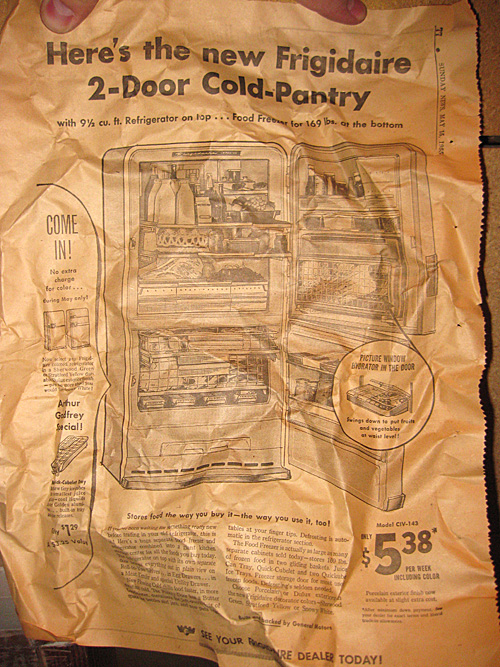
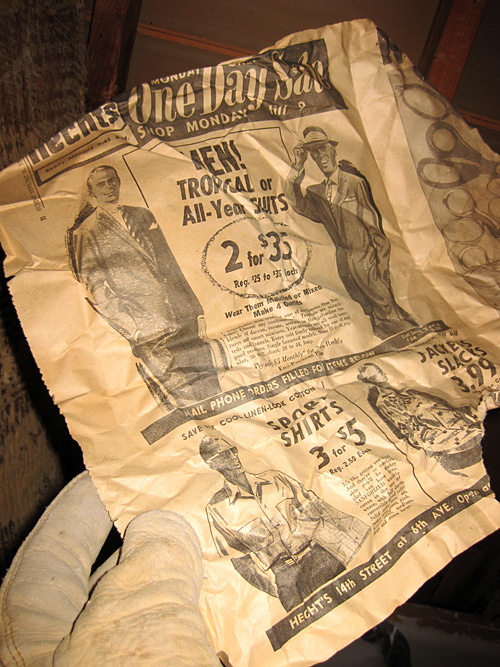
The newspaper behind the walls did tell a very interesting part of the this houses’ history. Apparently the tiles had been installed some time close to Sunday, May 16, 1955.

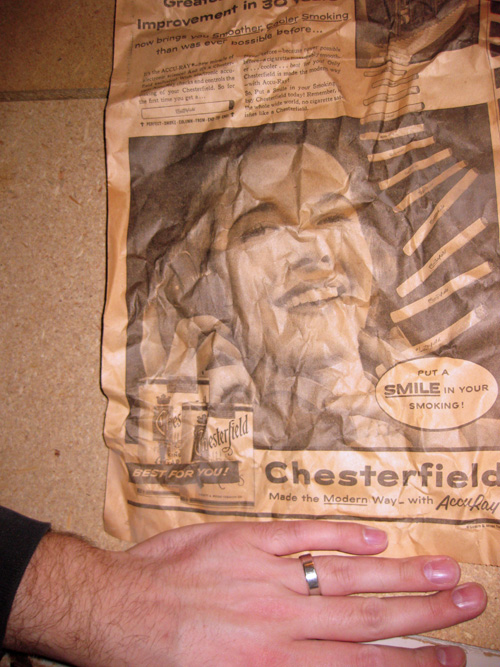
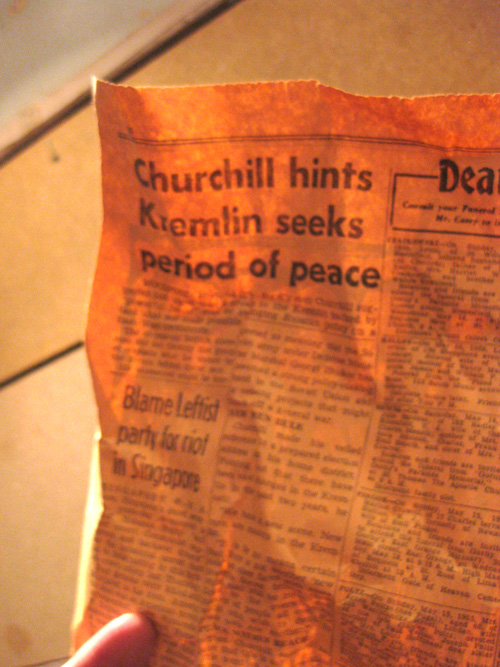
Although we didn’t find a stack of money (yet), it was neat to see the newspaper from 1955. There were interesting advertisements, comics, and even an article showing a graduating class of kindergarten being presented to their parents by a Nun.
Check out the complete 6-Pc. Davy Crockett costume for $4.99!

Or how about this — Men’s Tropical or All-Year Suits – 2 for $35!
We had to add some wood to make the wall level. The guys had to sit and read the instructions for the new faucet, and then they measured what height the new plumbing should be in relation to the new shower wall.
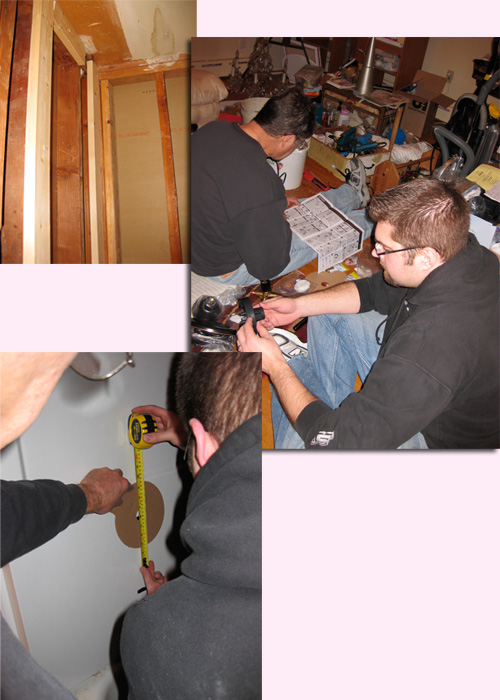
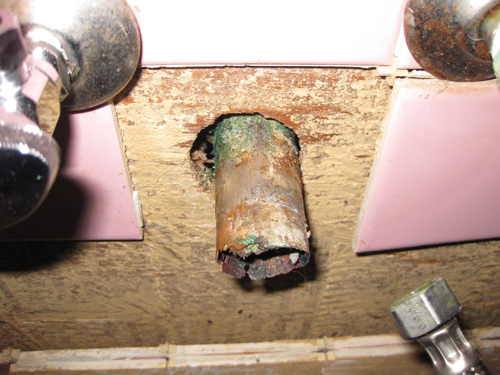
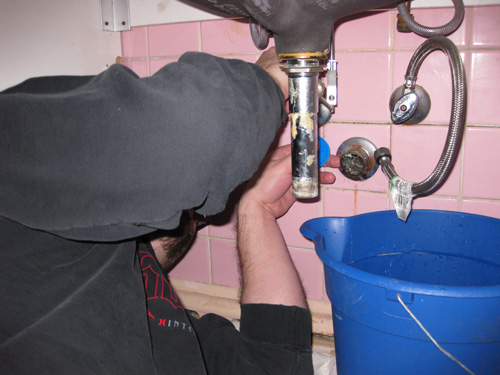
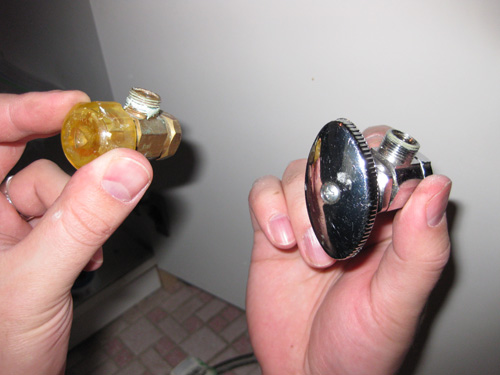
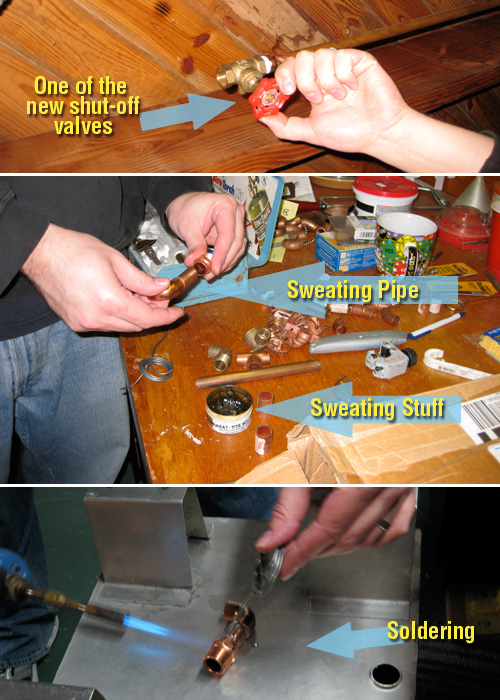
So that meant it was time for some new copper plumbing. The guys had to add two new shut off valves to the existing plumbing to start with. Fil (Father-in-law) told Hubby how to do some plumbing and what needed to be done and Hubby went to town!
There was some “sweating” and “soldering” and and “taping”. (Since we aren’t professional plumbers – not yet anyway, this might explain it a little better in case you are so inclined.) And then there was some more “sweating” and “soldering” and and “taping”.
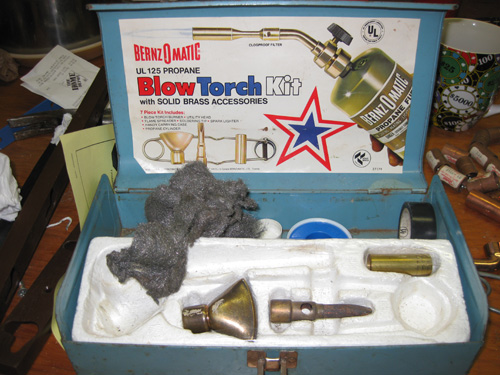
Good thing FIL had this handy dandy Blow Torch Kit for us to borrow. For more details or how to “DIY” You can read about Soldering here
After Hubby figured out the elbow joints, shut-off valves, and all that jazz to do with the new pipes he asked me to go try the faucet and see if we had any leaks. I was waiting in between testing the pipes so I decided to scrape the old caulk off the tub.
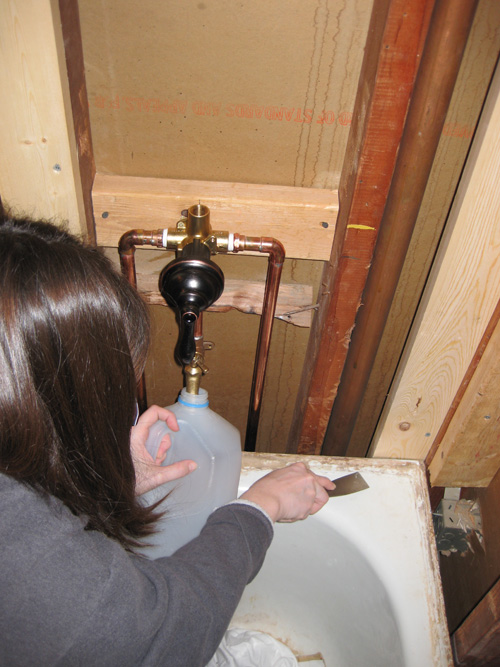
I had a water jug there up near the faucet in case of emergency. We had placed a temporary spigot where the water would eventually come out to make life a little easier. The only real mishap was when I couldnt figure out if the temporary faucet was on or off and all of the water came shooting out of the top where the shower head pipe would eventually go! Oopsie!
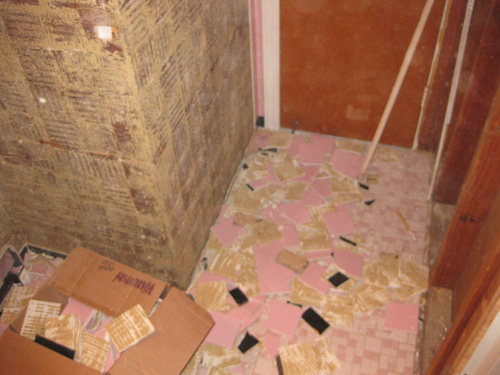
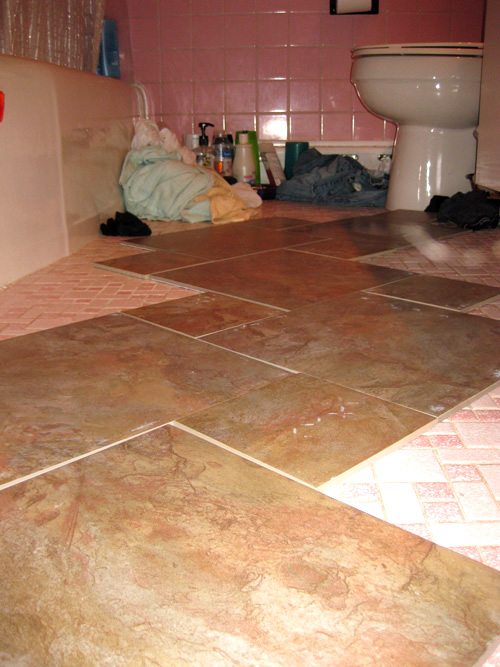
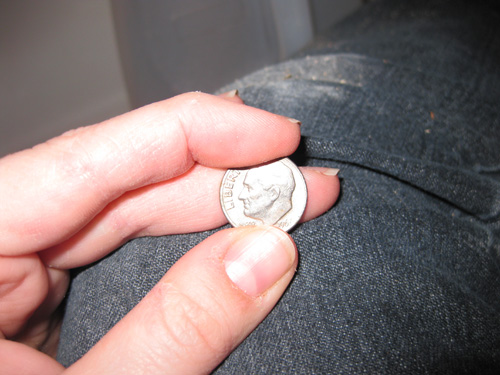
I also cleaned the floors and I found a dime under the tile! Woohoo!
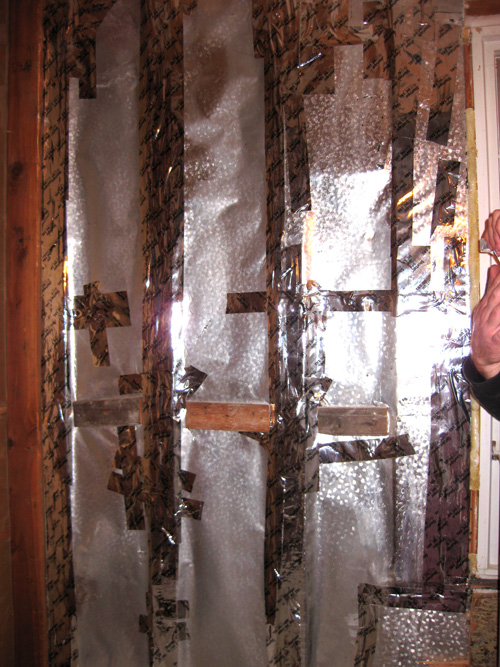
And I taped up some rips in the insulation paper.
And Hubby finished the beautiful plumbing tree!
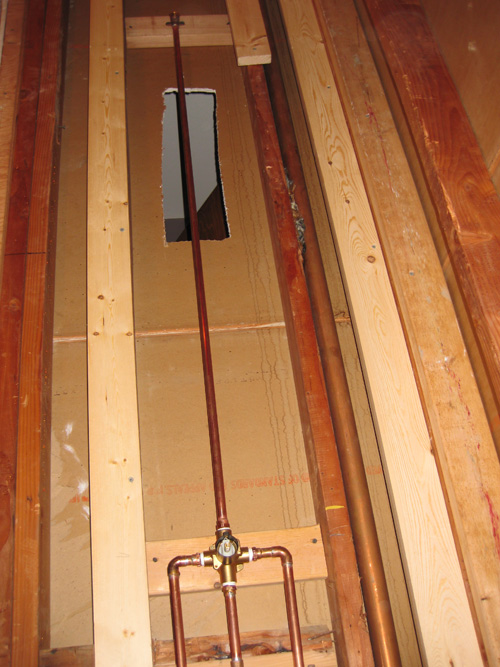
Check back tomorrow for the conclusion of the Shower wall tub surround installation! Please note the wall behind the plumbing is there in the last picture, isn’t it?….how’s that for some foreshadowing?
